ピックアップ
DjangoをNginxで動かすまでの設定
DjangoをNginxで動かすまでの設定をしたので、
その時のコマンドなどをメモしておく。
ちなみに、
Ubuntuでやっているので、
環境にDjangoをインストールするまでは、
以下を参照して欲しい。
Djangoの設定
プロジェクトの作成
$ django-admin startproject sampleプロジェクトへ移動
$ cd sample初期化
$ python3 manage.py migrate
Operations to perform:
  Apply all migrations: admin, auth, contenttypes, sessions
Running migrations:
  Applying contenttypes.0001_initial... OK
  Applying auth.0001_initial... OK
  Applying admin.0001_initial... OK
  Applying admin.0002_logentry_remove_auto_add... OK
  Applying admin.0003_logentry_add_action_flag_choices... OK
  Applying contenttypes.0002_remove_content_type_name... OK
  Applying auth.0002_alter_permission_name_max_length... OK
  Applying auth.0003_alter_user_email_max_length... OK
  Applying auth.0004_alter_user_username_opts... OK
  Applying auth.0005_alter_user_last_login_null... OK
  Applying auth.0006_require_contenttypes_0002... OK
  Applying auth.0007_alter_validators_add_error_messages... OK
  Applying auth.0008_alter_user_username_max_length... OK
  Applying auth.0009_alter_user_last_name_max_length... OK
  Applying auth.0010_alter_group_name_max_length... OK
  Applying auth.0011_update_proxy_permissions... OK
  Applying auth.0012_alter_user_first_name_max_length... OK
  Applying sessions.0001_initial... OK
Djangoの管理ユーザーを追加
$ python3 manage.py createsuperuser
Username (leave blank to use 'xxxxxxx'):
Email address:
Password:
Password (again):
Superuser created successfully.
アクセス許可設定(ドメイン or IP)
$ vi settings.py
ALLOWED_HOSTS = []
  ↓  ↓  ↓  ↓
ALLOWED_HOSTS = ['xxxxx.xxxxx']
Nginxの設定
設定フォルダへ移動
$ cd /etc/nginx/conf.d設定ファイルを追加
sudo vi django.conf設定内容
server {
   listen 80;
   server_name 【domain-name】;
  error_log /var/log/nginx/seal.error.log;
  access_log /var/log/nginx/seal.access.log;
  location / {
   rewrite ^/(.*) /$1 break;
   proxy_ignore_client_abort on;
   proxy_pass http://localhost:8000;
   proxy_set_header X-Real-IP $remote_addr;
   proxy_set_header X-Forwarded-For $proxy_add_x_forwarded_for;
   proxy_set_header Host $http_host;
   proxy_set_header X-Forwarded-Proto https;
  }
}
Djangoの起動
Djangoのスタートコマンド
$ python3 manage.py runserver
Django version 3.2.6, using settings 'sample.settings'
Starting development server at http://127.0.0.1:8000/
Quit the server with CONTROL-C.
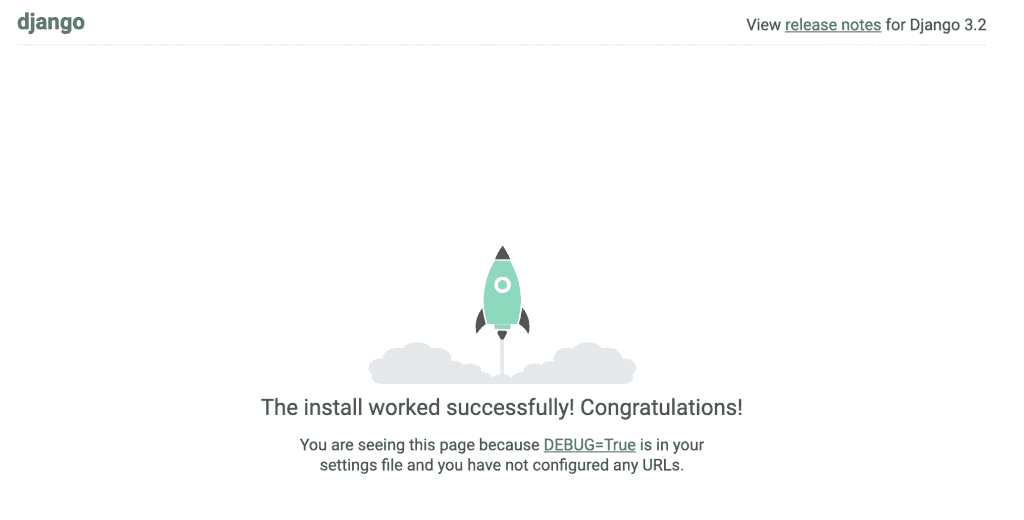
Djangoの初期表示画面

おすすめ書籍
コメント一覧
コメントはまだありません。


コメントを残す